Step-by-Step Guide for Rebar Placement in Footings
Overview of Rebar Placement in Footings
In this step-by-step guide for rebar placement in footings, we will explore the essential techniques and tips to ensure solid foundation work. Proper rebar placement is crucial for structural stability and longevity.
Importance of Proper Rebar Placement
Reinforced bars, or rebars, are integral to construction projects, particularly in strengthening concrete structures like footings. Footings serve as the base for walls or buildings, distributing loads to the ground. Correct rebar placement ensures that the footing handles the stresses it must endure without cracking or deforming.
Step 1: Footing Calculation
Before placing rebar, you must determine the size and amount of rebar needed through accurate footing calculation. This process involves determining the load weight, soil type, and environmental conditions. Calculators or engineering software can assist in this step. When calculating, ensure you adhere to local building codes which may dictate rebar size and spacing requirements.

Step 2: Preparing the Site
Proper site preparation is critical. Clear the area of debris and establish a flat surface for the footing. Mark the footing boundaries accurately using stakes and strings, ensuring it aligns with the site plan. Successful site prep lays the groundwork for precise rebar placement.
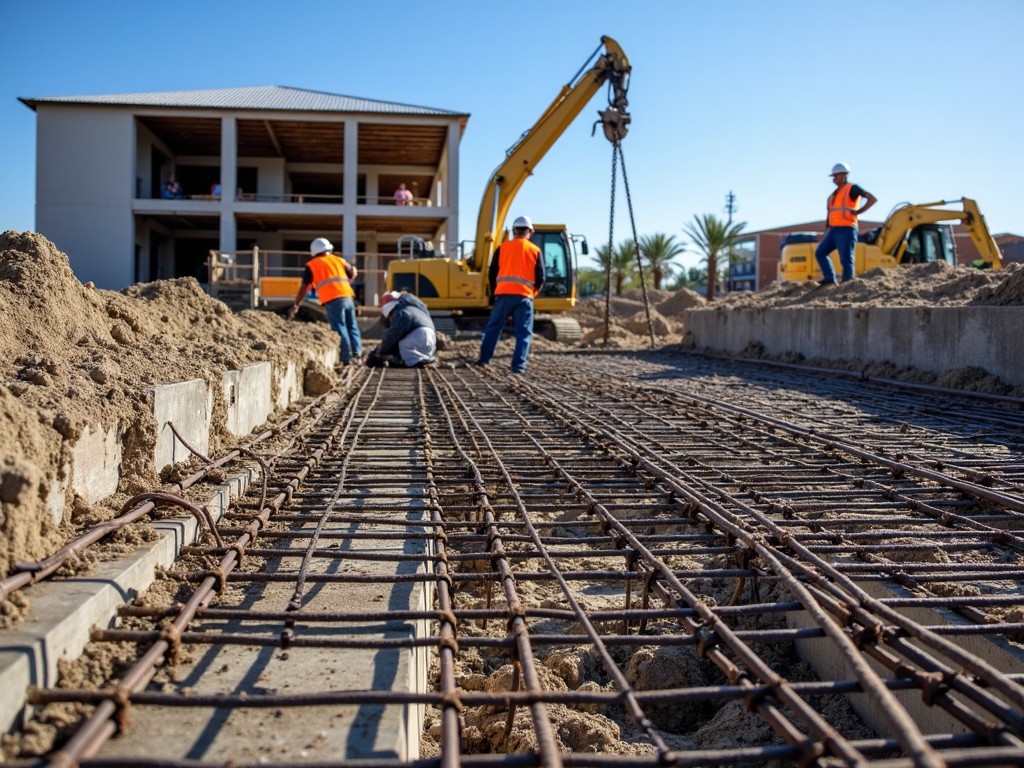
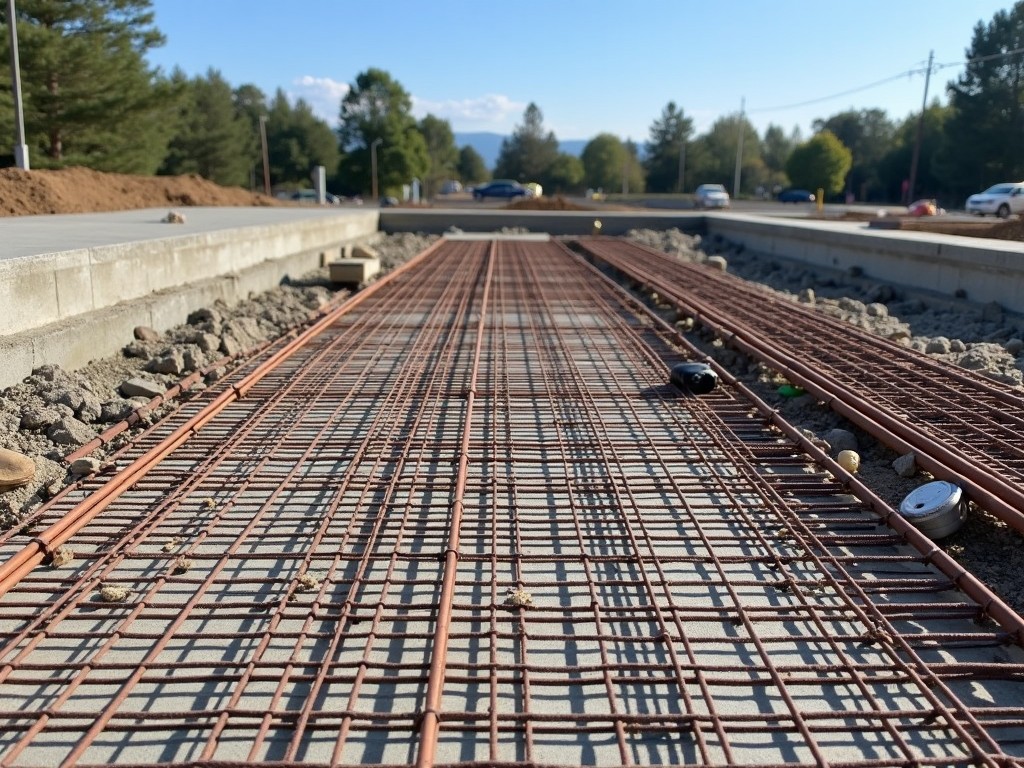
Step 3: Laying Out Rebar
Once the site is ready, lay out the rebar according to your design plan. Typically, this involves placing vertical and horizontal rebars in a grid pattern, maintaining careful spacing. Use rebar chairs or blocks to lift the rebar off the ground, ensuring it is set in the center of the concrete footing.
Maintaining Proper Rebar Cover
Rebar cover refers to the distance between the surface of the concrete and the rebar itself. Ensure the rebar is adequately covered to protect it from corrosive elements. This prevents structural weaknesses over time and adheres to building codes.
Step 4: Securing Rebar
Tightly secure the intersections of rebar with tie wire to prevent movement during the concrete pour. This step ensures that the rebar remains in place, maintaining proper structure and spacing.

Step 5: Final Inspection
Before pouring concrete, conduct a final inspection to verify the rebar layout against your plan. Check for uniformity in spacing, secure ties, and the correct rebar cover.
Conclusion and Best Practices
Effective rebar placement is fundamental to constructing durable footings. By following this step-by-step guide, securing proper site preparation, accurate footing calculation, and diligent inspections, you’re well on your way to building a robust structural foundation. Remember, it pays to plan carefully and consult with structural engineers to ensure compliance with all safety standards and local regulations.