


Step-by-Step Guide for Rebar Placement in Footings
Overview
Proper rebar placement in footings is crucial for the structural integrity of buildings. This step-by-step guide will help you through the process, ensuring safety and compliance.
Understanding Rebar Placement in Footings
Rebar, short for reinforcing bar, is used in construction to strengthen concrete. When placing rebar in footings, it’s essential to follow specific guidelines to maintain structural integrity.
Step 1: Footing Calculation
Accurate footing calculation is the foundation of successful rebar placement. This involves determining the load that the footing must support and the dimensions necessary to distribute these loads safely.
- Determine Load Requirements: Consider the weight of the structure and any transient loads.
- Calculate Footing Dimensions: Use load requirements to determine the width, length, and depth of the footings.
- Code Compliance: Ensure that all calculations meet local building codes.
Helpful Tip
Using building software can simplify this process. Tools like SketchUp can visualize footings and rebar layouts.
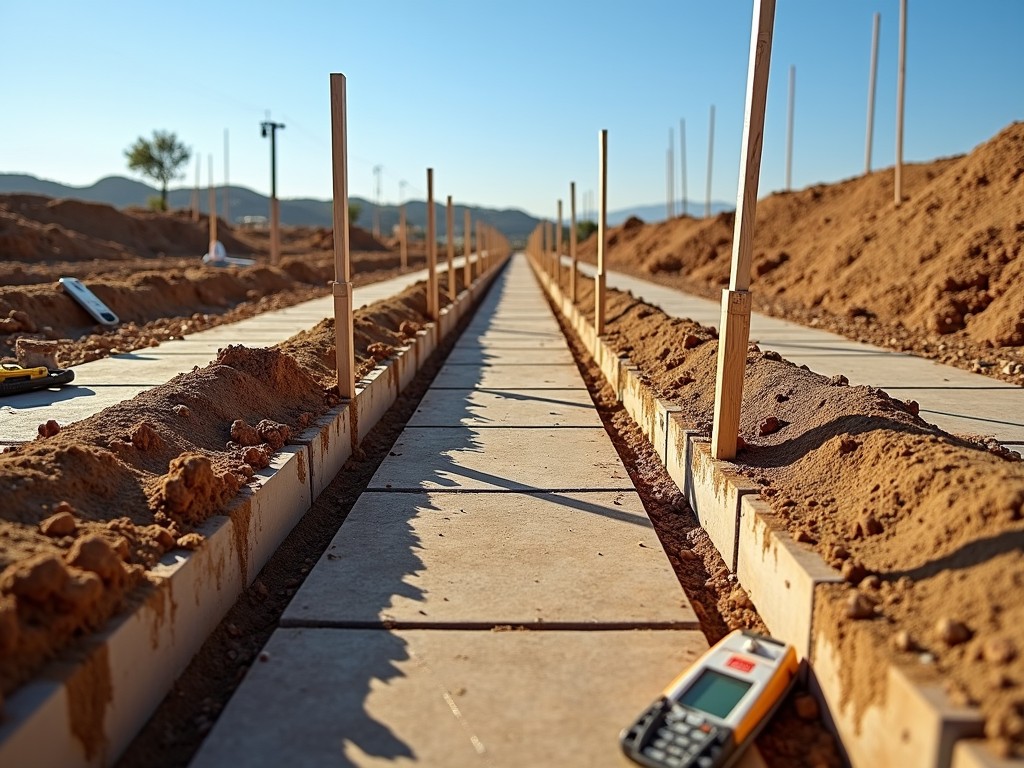
Step 2: Preparing the Site
Site preparation is a critical step before placing rebar. The following steps should be followed:
- Excavation: Remove soil to the required depth.
- Level the Surface: Ensure the bottom of the trench is flat and compact.
- Mark Boundaries: Use stakes and strings to outline where the footings will be placed.
Maintaining a clean and obstruction-free site will ease the rebar placement process.
Step 3: Cutting and Bending Rebar
Once the site is prepared, it’s time to cut and bend the rebar to the right size and shape:
- Measure and Mark: Measure the rebar based on your footing calculation.
- Cut Rebar: Use rebar cutters to cut sections to the required lengths.
- Bend Rebar: Rebar benders help achieve the necessary angles and curves.
Personal Insight
Wearing proper safety gear, such as gloves and goggles, can prevent injuries while handling rebar.

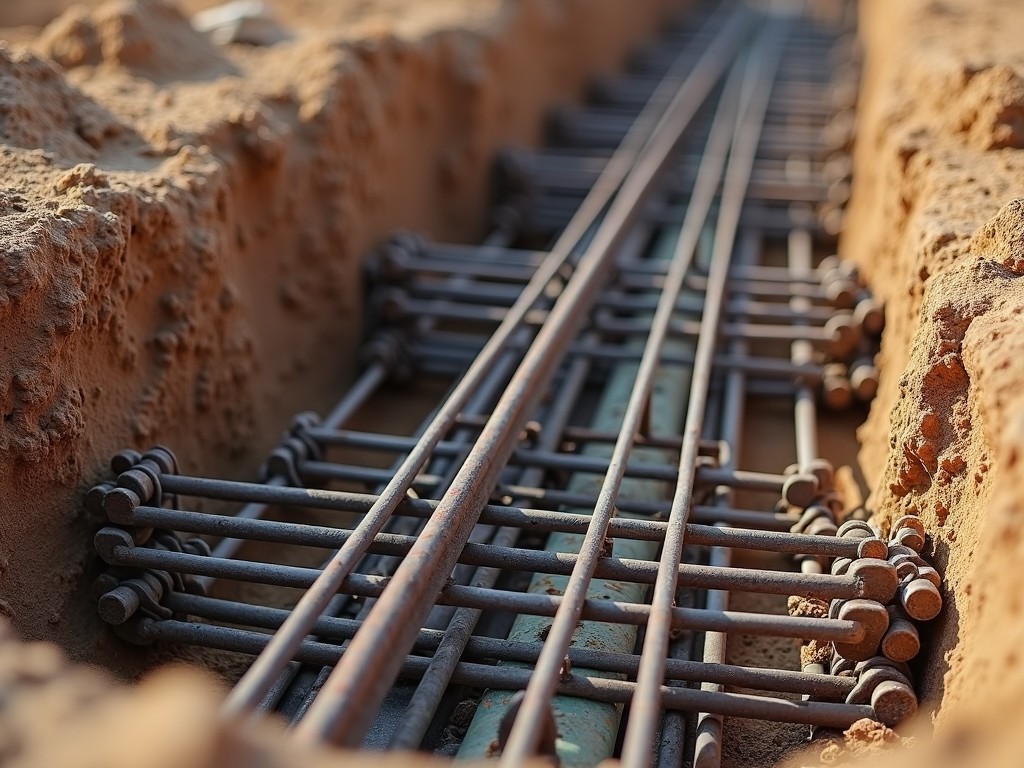
Step 4: Placing the Rebar
With rebar prepped, place it carefully into the prepared trenches:
- Positioning: Lay the rebar on the base in the pattern determined by structural engineering plans.
- Tie Rebar: Use rebar ties to secure intersections firmly. This maintains rebar spacing and avoids movement during concrete pouring.
- Use Chairs: Rebar chairs lift the rebar to the required height, ensuring it’s embedded correctly in the concrete.
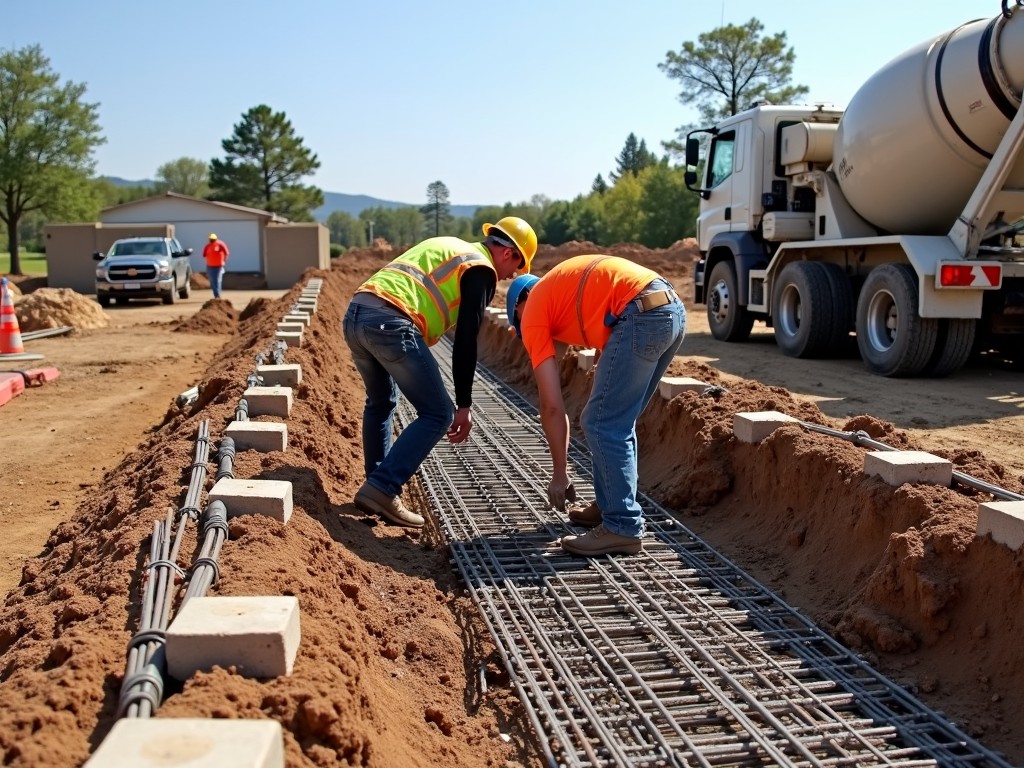
Step 5: Pouring Concrete
Once the rebar is secure, concrete can be poured:
- Mix and Pour: Ensure the concrete mix is consistent and free of debris before pouring.
- Vibrate: Use a concrete vibrator to remove air bubbles and enhance bonding.
- Level the Surface: Smooth the concrete surface using trowels for a clean finish.
Final Checks
- Cure Concrete: Cover the poured concrete to retain moisture and enhance curing.
- Inspect Work: Double-check alignment and spacing before the final curing stage.
Summary
Proper rebar placement in footings is essential for building safety and durability. Following these steps will help ensure your project meets all necessary standards.