


Geotechnical Engineering Tutorials: A Civil Engineer's Guide to Success
Geotechnical engineering is a key part of civil engineering. It focuses on how earth materials, like soil and rock, interact with structures. For civil engineers, mastering geotechnical engineering tutorials is vital. These skills help you design safe foundations, slopes, and walls. This article offers practical lessons to boost your project success.
Understanding Soil Properties
Soil isn’t just dirt—it’s a material with unique traits. Knowing these traits is the first step in geotechnical engineering. Soil behaves differently depending on its type and conditions. This tutorial starts with soil classification using the Unified Soil Classification System (USCS). It sorts soil by grain size and how sticky it is.
Here’s a simple breakdown of soil types:
| Soil Type | Description |
|---|---|
| Gravel | Particles larger than 4.75 mm |
| Sand | Particles between 0.075 mm and 4.75 mm |
| Silt | Particles between 0.002 mm and 0.075 mm |
| Clay | Particles smaller than 0.002 mm |
This table helps you identify what you’re working with on-site.
Next, you need to test the soil. Tests like the Standard Penetration Test (SPT) measure how tough soil is. You drop a hammer on a rod to see how far it sinks. More blows mean denser soil. Knowing this helps you plan stronger designs.
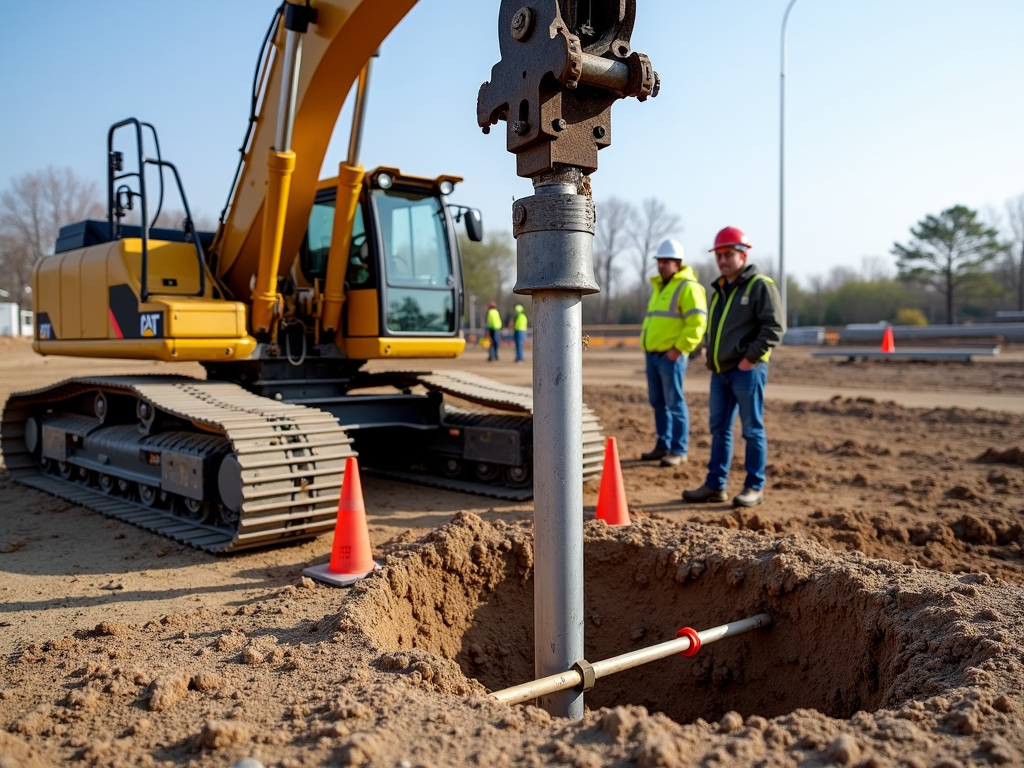
Groundwater matters too. Water in soil can weaken it, especially if levels rise. High water pressure pushes soil grains apart, making it less stable. Always check the water table before designing anything.
Mastering Foundation Design
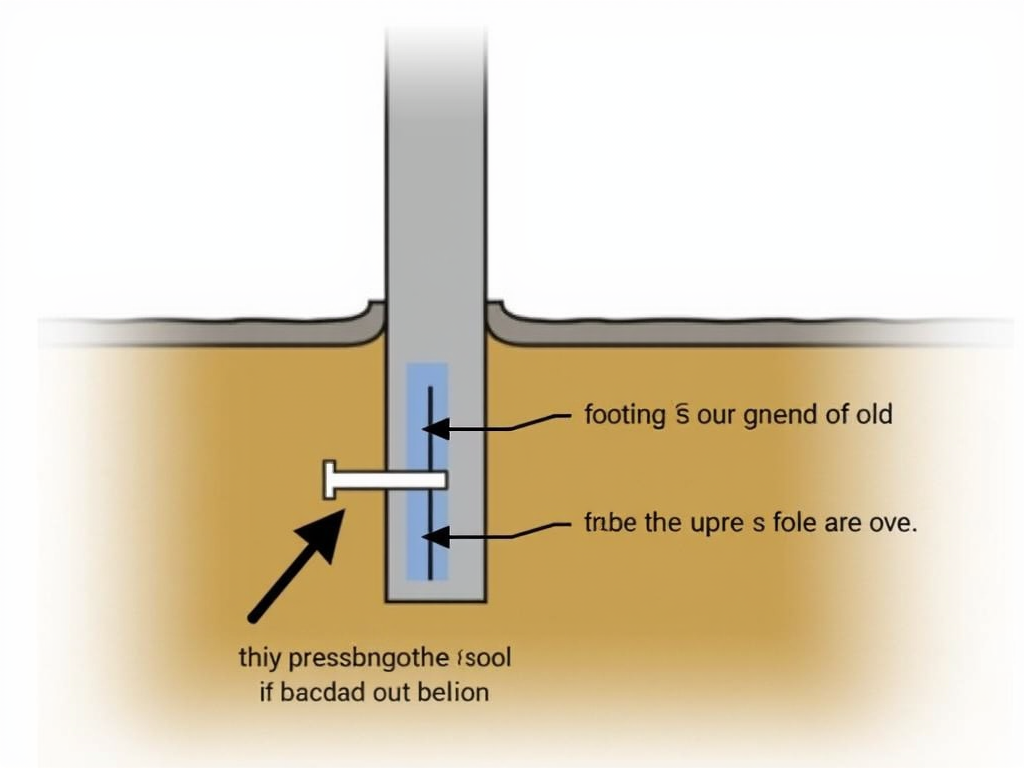
Foundation design puts geotechnical engineering to work. Your foundation choice depends on soil strength and the building’s weight. This tutorial covers shallow foundations, like footings, and deep ones, like piles. Each type supports structures differently.
Let’s talk footing calculation—a must-know skill. Imagine a column pushing 500 kN down. If the soil can handle 150 kPa, you calculate the footing area like this: Area = Load / Bearing Capacity. So, 500 / 150 = 3.33 m². For a square footing, each side is about 1.82 meters. Simple, right?
But real projects need more. You factor in safety margins and how much the soil might settle. Here’s a quick look at different scenarios:
| Load (kN) | Bearing Capacity (kPa) | Area (m²) | Side Length (m) |
|---|---|---|---|
| 400 | 150 | 2.67 | 1.63 |
| 500 | 150 | 3.33 | 1.82 |
| 600 | 200 | 3.00 | 1.73 |
This table shows how footing size changes.
I once worked on a small warehouse project. The soil was sandy, but wet weather raised the water table. We adjusted the footing size after testing. Skipping that step could’ve meant cracks later. Always test first—trust me.
Keeping Slopes Stable
Slope stability keeps projects safe. Slopes can fail, causing landslides that damage buildings or roads. This tutorial explores what makes slopes stable: soil strength, water levels, and extra weight on top.
Take the 2014 Oso landslide in Washington. Rain soaked the soil, cutting its strength. The slope gave way, showing why water control matters. You can analyze stability with tools like the limit equilibrium method. It finds weak spots where slides might start.

To fix unstable slopes, try drainage pipes to cut water buildup. Plants with deep roots help too. I’ve seen projects saved by simple fixes like these. Software like GeoStudio can also model slopes fast and spot risks.
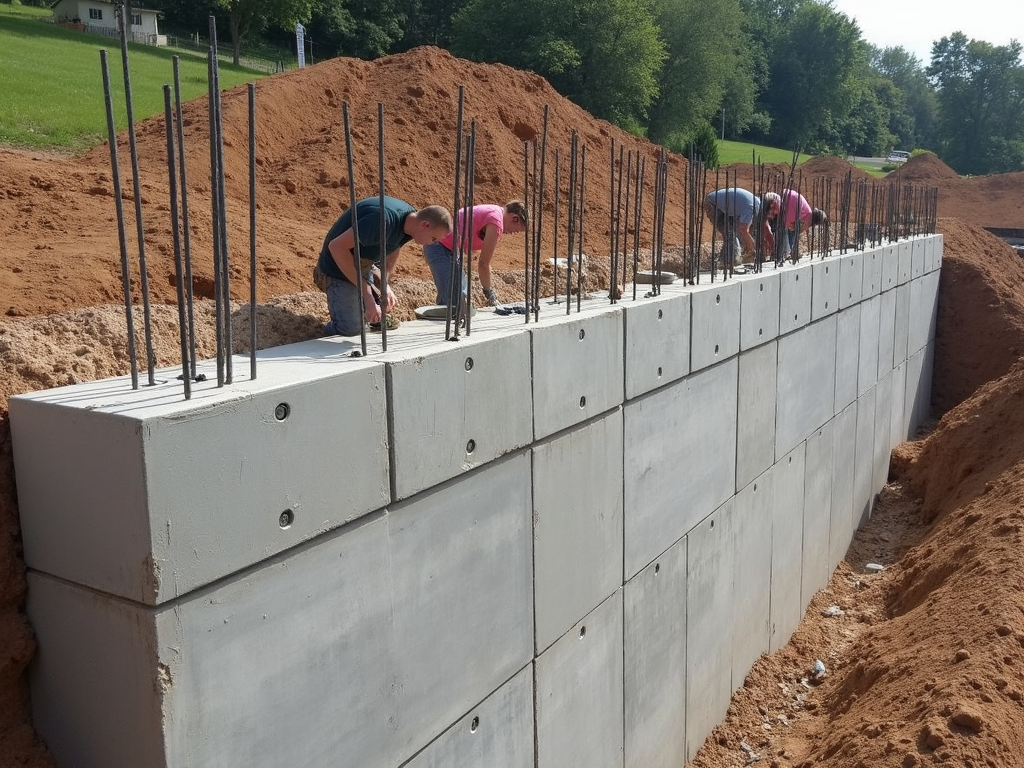
Building Retaining Structures
Retaining structures hold soil in place. Think retaining walls or sheet piles. They stop soil from sliding on slopes or behind buildings. This tutorial explains how to design them by calculating soil pressure.
A gravity retaining wall uses its weight to stay put. You make it wide and heavy so it doesn’t tip or slide. Other options, like cantilever or anchored walls, work for taller jobs. Each needs careful planning based on soil push.
I’ve designed a few retaining walls. One time, a client wanted a cheap fix for a backyard slope. We went with a gravity wall—simple but effective. Checking soil pressure saved us from a redo. Always double-check your numbers.
Tips From Experience
Geotechnical engineering challenges you, but it’s worth it. Soil is tricky—conditions change fast. My advice? Spend time on site investigations. A quick test can spot problems early and save headaches later.
Don’t go it alone on big jobs. Geotechnical engineers bring specialized know-how. I once teamed up with one for a bridge project. Their soil data made our foundation rock-solid. Collaboration pays off.
Wrapping Up
Geotechnical engineering ties civil engineering together. It’s about understanding soil and building smart. These tutorials on soil, foundations, slopes, and walls give you tools to succeed. Test your site, calculate carefully, and lean on experts when needed. You’ve got this!